Violin Tips and Techniques
Welcome to our Violin Tips and Techniques page!
Here, you'll find a curated collection of valuable insights and advice gathered from various sources, including esteemed professors, colleagues, fellow violinists, soloists, and conductors. Feel free to explore, practice, and enjoy your time with the violin. Happy playing!
I. Bow Hold Basics
We all have different anatomies, and finding a comfortable and effective bow hold is crucial for every violinist. I’ve found that the key to a good bow hold is minimizing tension.
Here’s a simple exercise to try before you start practicing:
Use a pencil instead of your bow, and do these exercises for 1-2 minutes. The goal is to make your fingers more flexible, paying special attention to the thumb and pinky, as they are often the main sources of tension.
Thumb: Keep it relaxed and avoid letting it press too hard.
Pinky: It shouldn’t bear the weight of the bow. Instead, let the bow's contact with the string carry the weight. Releasing the pinky as much as possible allows the bow to do the work itself.
Index Finger: Avoid rolling the index finger onto the stick. It should make contact without adding any extra pressure or tension.
While the pinky has its role in certain articulations, it’s best not to burden it with unnecessary responsibility. Focus on this exercise, and you’ll notice an improvement in your bow hold and overall playing comfort.
I hope this helps! 🎻
II. Expressive Intonation
The violin offers unique expressive possibilities compared to the piano, particularly with intonation. Here’s a straightforward guide to tuning half steps:
Same Note Interval: When playing two identical notes a half step apart (Example 1), tune the interval slightly wider. The notes should be spaced with a bit more distance, emphasizing each note's extreme pitch.
Different Note Interval: When playing two different notes a half step apart (Example 2), tune the interval slightly narrower. The notes should be closer together, with attraction to each other for a more cohesive sound.
Mastering these nuances can greatly enhance your musical expression.
III. A Simple Trick to Nail Shifts and String Crossings
Hold the Note a Little Longer
Before you make a big shift, cross strings, or play a chord, try holding the note right before it just a bit longer.
Taking your time helps you avoid rushing, that extra moment gives your brain time to plan where you're going next and try singing the note in your mind before you move.
Here’s How It Works:
Shifting Up to a High Note—Hold the note before you shift for just a second longer than the right length, and sing the note you’re aiming for in your mind. This makes your shift smoother and more accurate.
Crossing Strings on a Big Leap -Holding the note before the crossing a bit longer helps you naturally curve the bow angle towards the following string, making the transition smoother and more controlled.
Getting Ready for a Chord—Before you play a chord, hold the note just before it gets longer. This gives you time to set your fingers up just right.
By giving yourself that extra moment, adjusting your bow angle, and singing the next note in your head, you’ll find it easier to play big shifts, string crossings, and chords accurately. Hope this helps make your playing even better!
Examples from:
Brahms Violin Concerto - Allegro ma non troppo
IV. Breathing and Body Awareness Tips
Many of us get so caught up in the music that we forget how important it is to stay aware of how we breathe and align our bodies. Neglecting these details can lead to bad habits that are tough to shake off. Here’s a straightforward guide to help you stay mindful and improve your practice.
Breathe with Purpose: Try to match your breathing with your bow strokes. For example, take a deep breath before a tricky passage and let it out as you play through it. When I forget to breathe, I often create unnecessary tension in my playing, which affects my sound, musical phrasing, and overall performance.
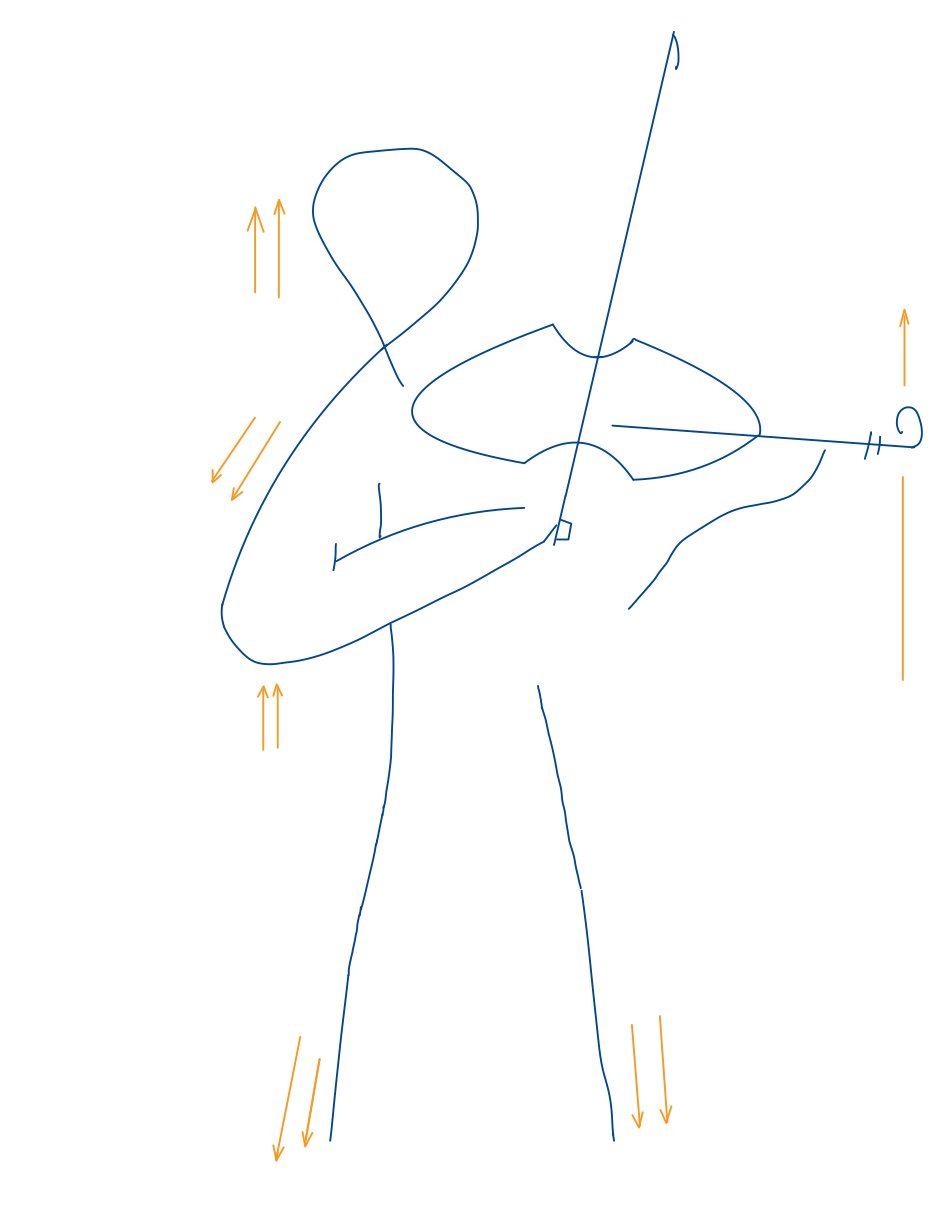
Check Your Posture: Your shoulders, arms, and hands should feel relaxed. Use the drawing I made as a reference to get your positioning right.
Use a Mirror: Every 30 seconds, take a gentle quick look in the mirror. This helps you see if your posture needs adjusting and keeps you aware of how you hold your body.
Record Yourself: Use your phone or camera to record your practice sessions. Watching the playback can give you a clear view of your technique and posture. Look for any habits that need fixing and make adjustments based on what you see.
I know firsthand how challenging it can be to break bad habits and correct bad posture. These tips were helpful for me, and as I write this, I’m committed to putting them into practice myself.
By incorporating these strategies and staying consistent, you can build better habits and improve your playing faster. Happy practicing!


